Getting set up on the
Ward6AI platform.
A simple, four-step walkthrough for verifying your email, setting your password, and logging in for the first time. Should take about five minutes.
Before you start
You'll get two emails from dev-wardai (sender no-reply@auth0user.net). The whole process is four short steps:
- Verify your email — confirms the account is yours.
- Request a password reset — kicks off your first-time password setup.
- Set your new password — pick a strong one and save it.
- Log in — you're in.
auth0user.net address, which Outlook may flag with a "you don't often get email from" warning. That's expected. The links are legitimate.- Verify your email3 sub-steps
- Request a password reset4 sub-steps
- Set your new password4 sub-steps
- Log in to Ward6AI1 sub-step
Verify your email
First, prove the account belongs to you by clicking the verify link in your invite email. Three quick sub-steps.
Find the verification email in your inbox
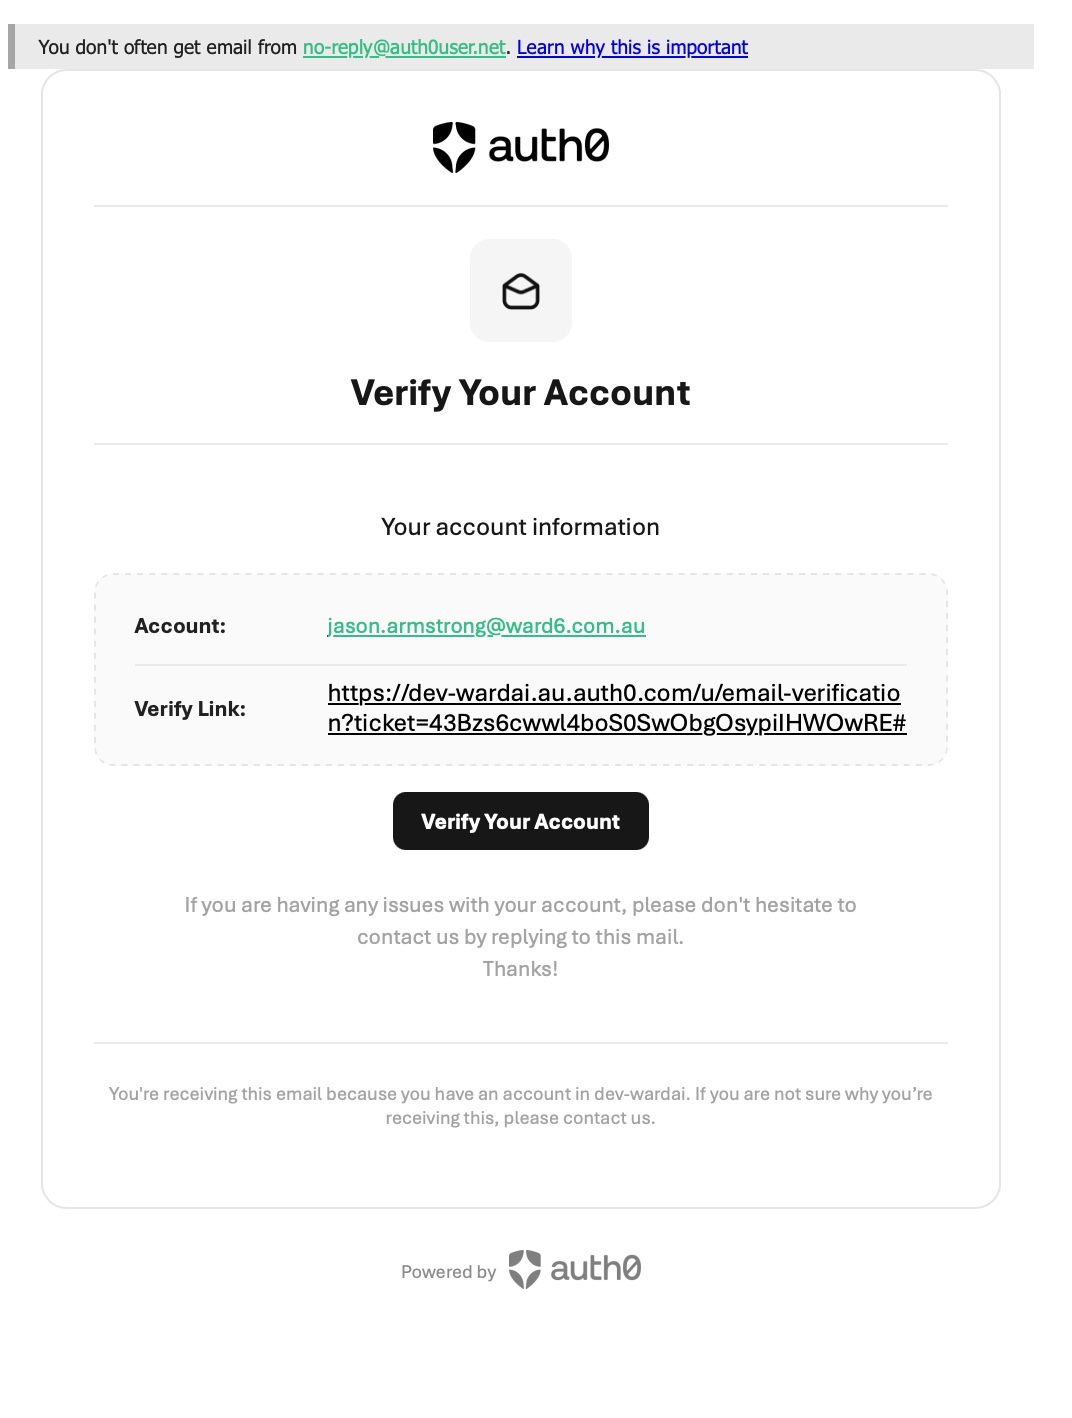
Open your inbox and look for an email from dev-wardai with the subject "Verify your email". It usually lands within a minute or two of your invite being sent.
no-reply@auth0user.net.
Open it and click Verify Your Account
Open the email. Check the account address shown matches yours, then click the black Verify Your Account button.
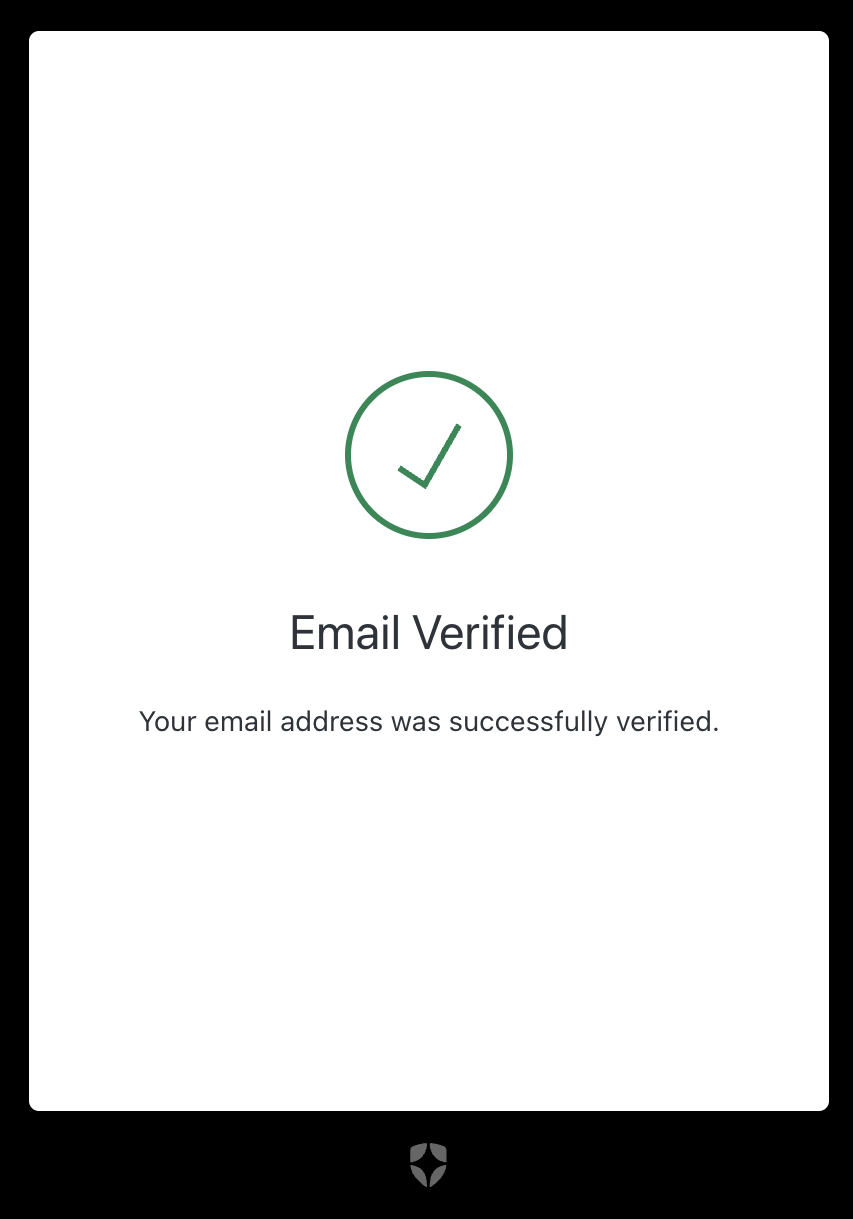
Confirm the email-verified screen
A browser tab will open and show a green tick with the message "Email Verified — Your email address was successfully verified." You can close this tab. Email verification is done.
Request a password reset
Your account already exists, but doesn't have a password yet. The reset flow is how you set one for the first time.
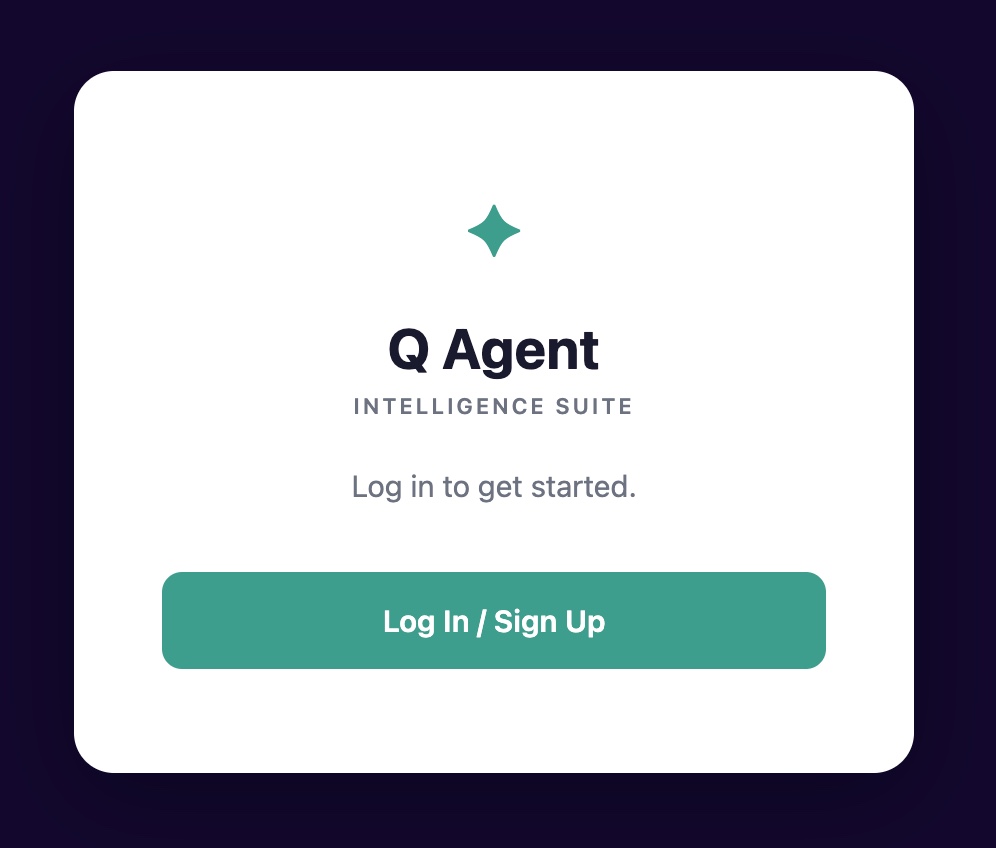
Go to wardai.au and start sign-in
In your browser, go to https://wardai.au. You'll see the Q Agent — Intelligence Suite welcome screen.
Click the green Log In / Sign Up button.
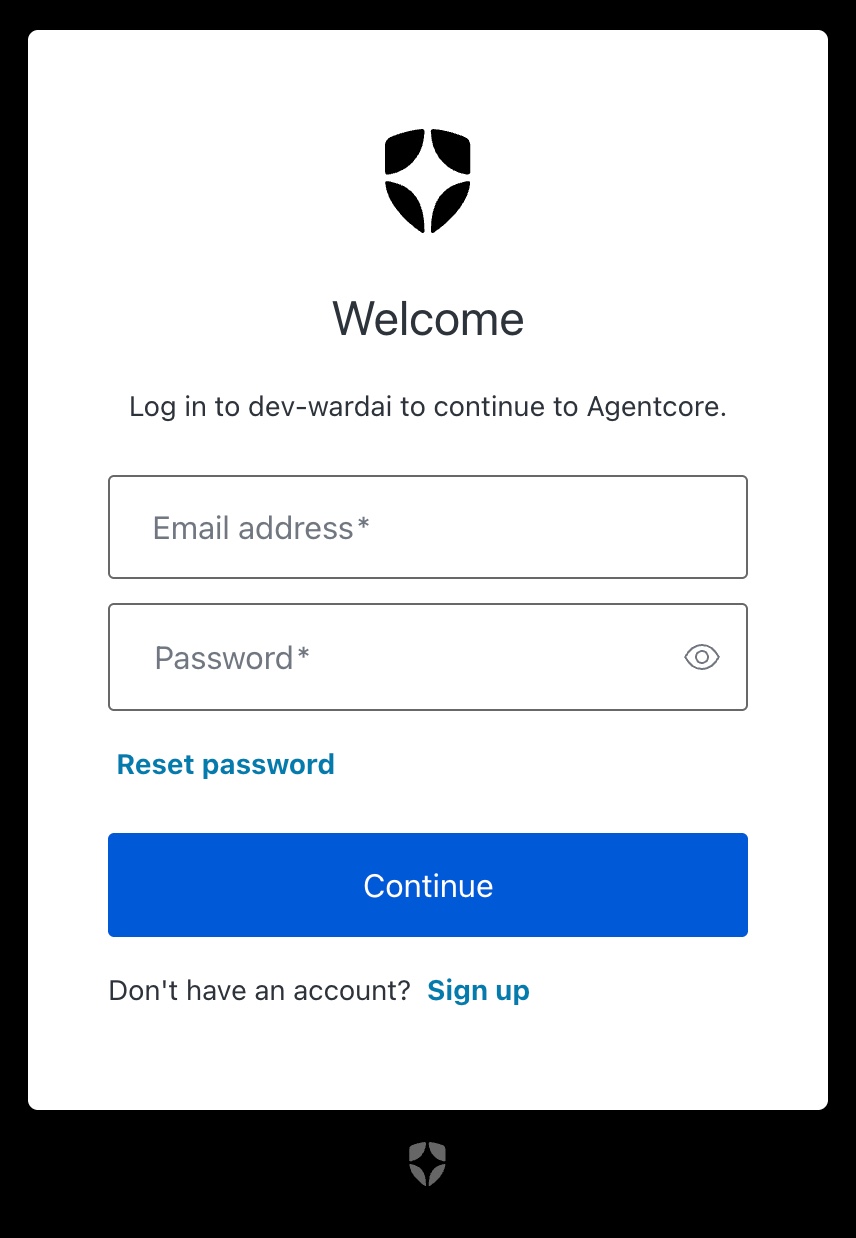
Choose "Reset password" on the login form
You'll be taken to the Auth0 login form. Don't enter anything yet — you don't have a password set.
Click the blue Reset password link below the password field.
Enter your email on the reset form
On the Forgot Your Password? screen, type the same email address your invite was sent to, then click Continue.
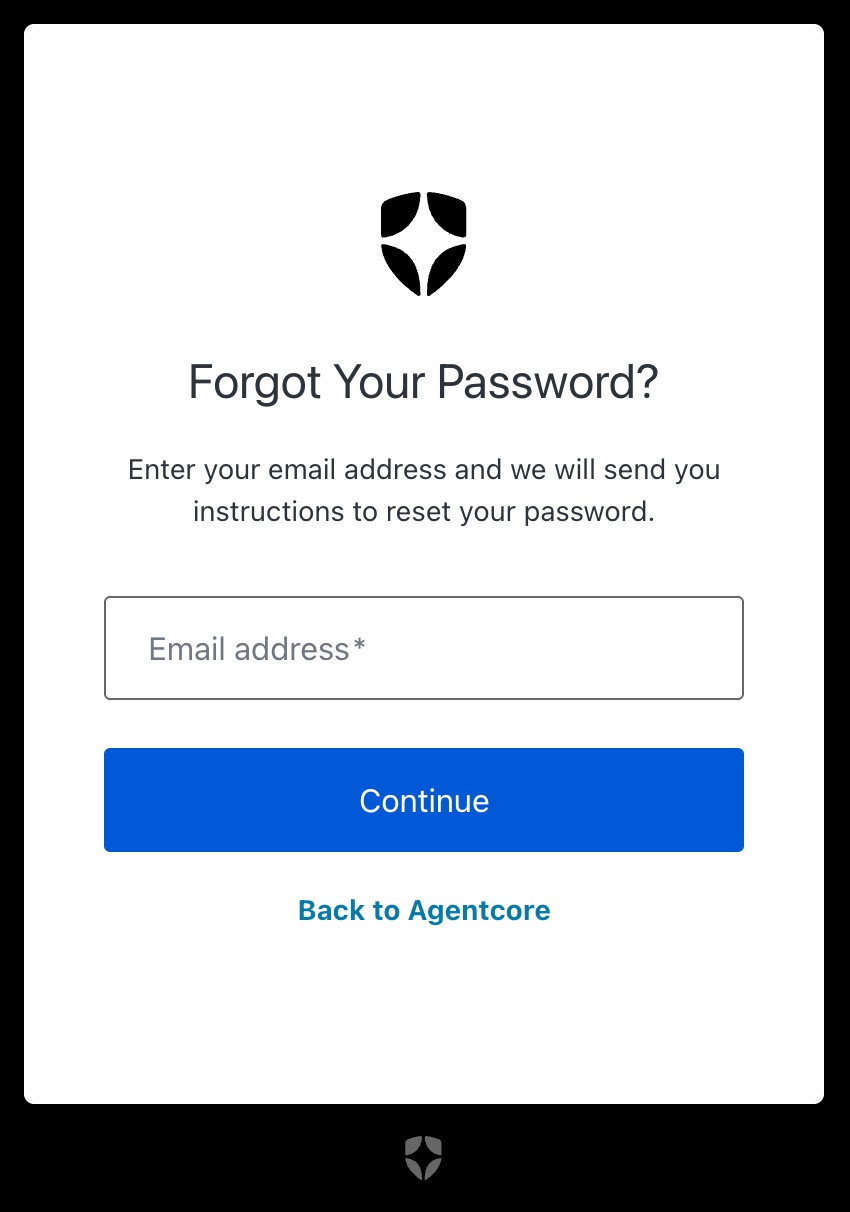
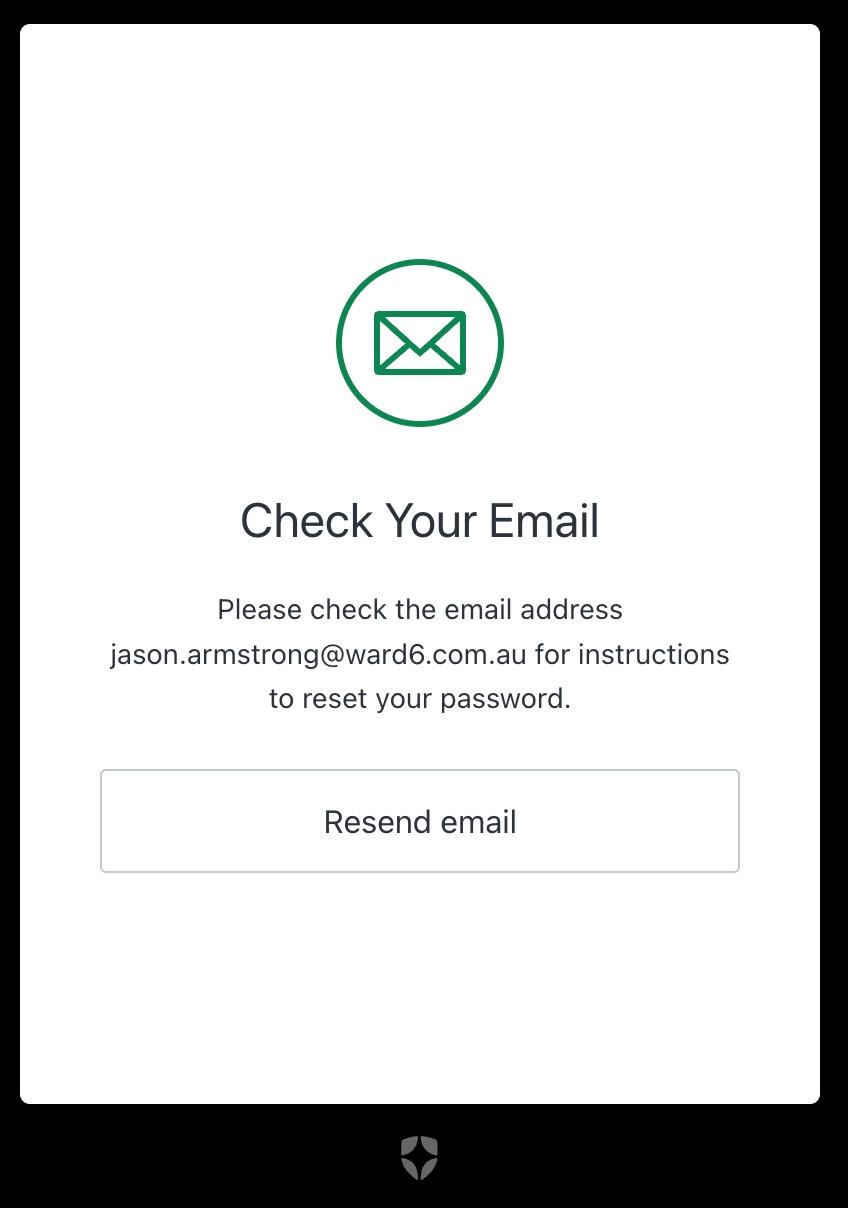
Leave the "Check Your Email" window open
You'll see a confirmation that reset instructions are on their way. Keep this tab open — if the email doesn't arrive in a couple of minutes, you can click Resend email from here.
Set your new password
Pick something strong, save it in your password manager, and you're almost in.
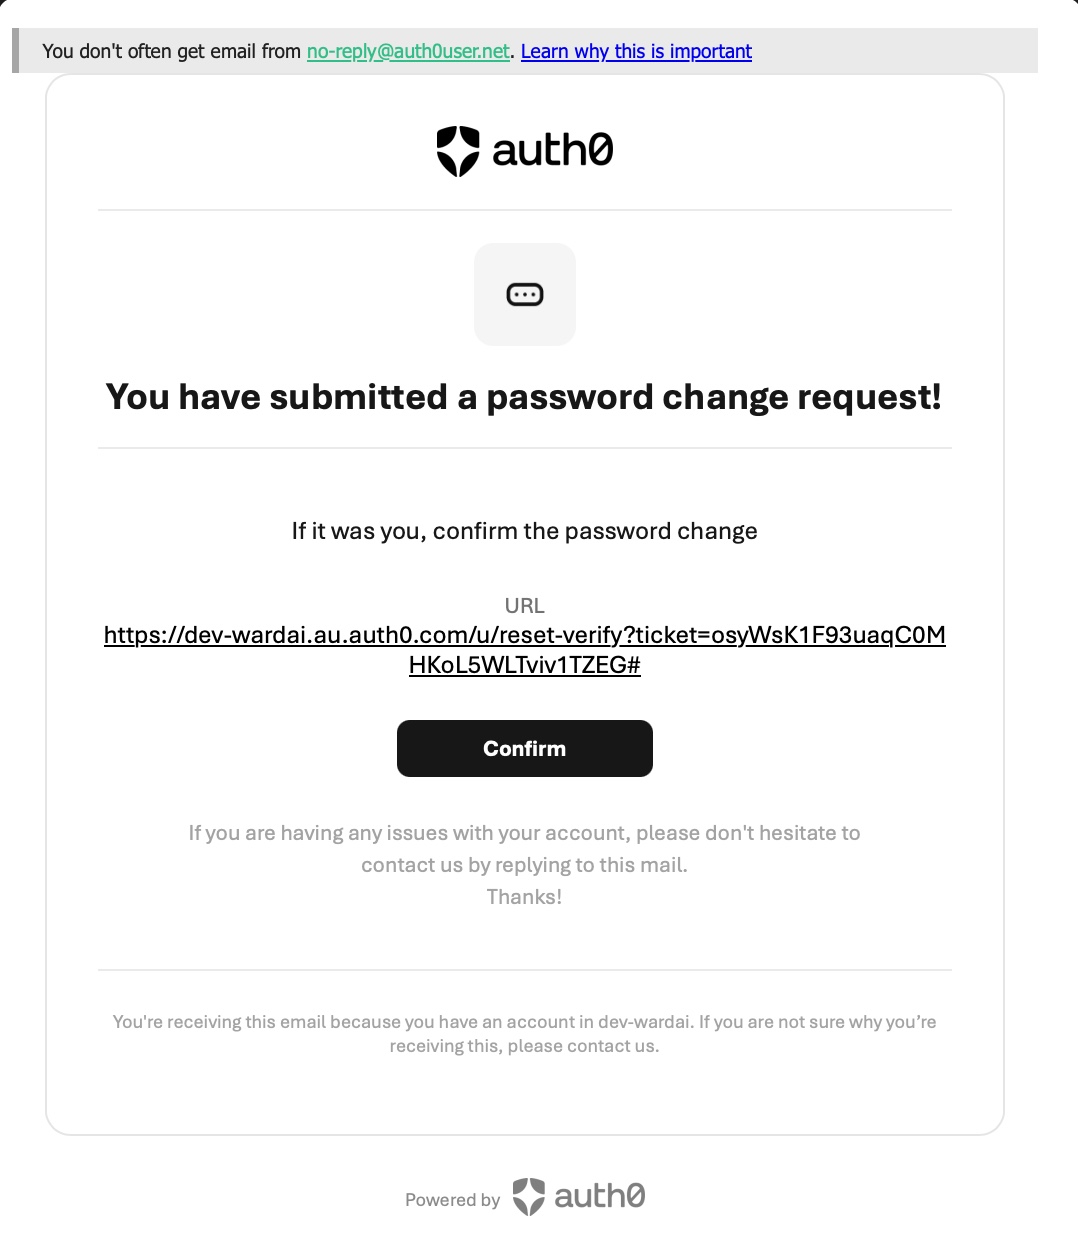
Find the reset-password email in your inbox
Switch to your inbox. Look for an email from Agentcore with the subject "Reset your password".

Open it and click Confirm
Open the email. You'll see a message that you've submitted a password change request. Click the black Confirm button.
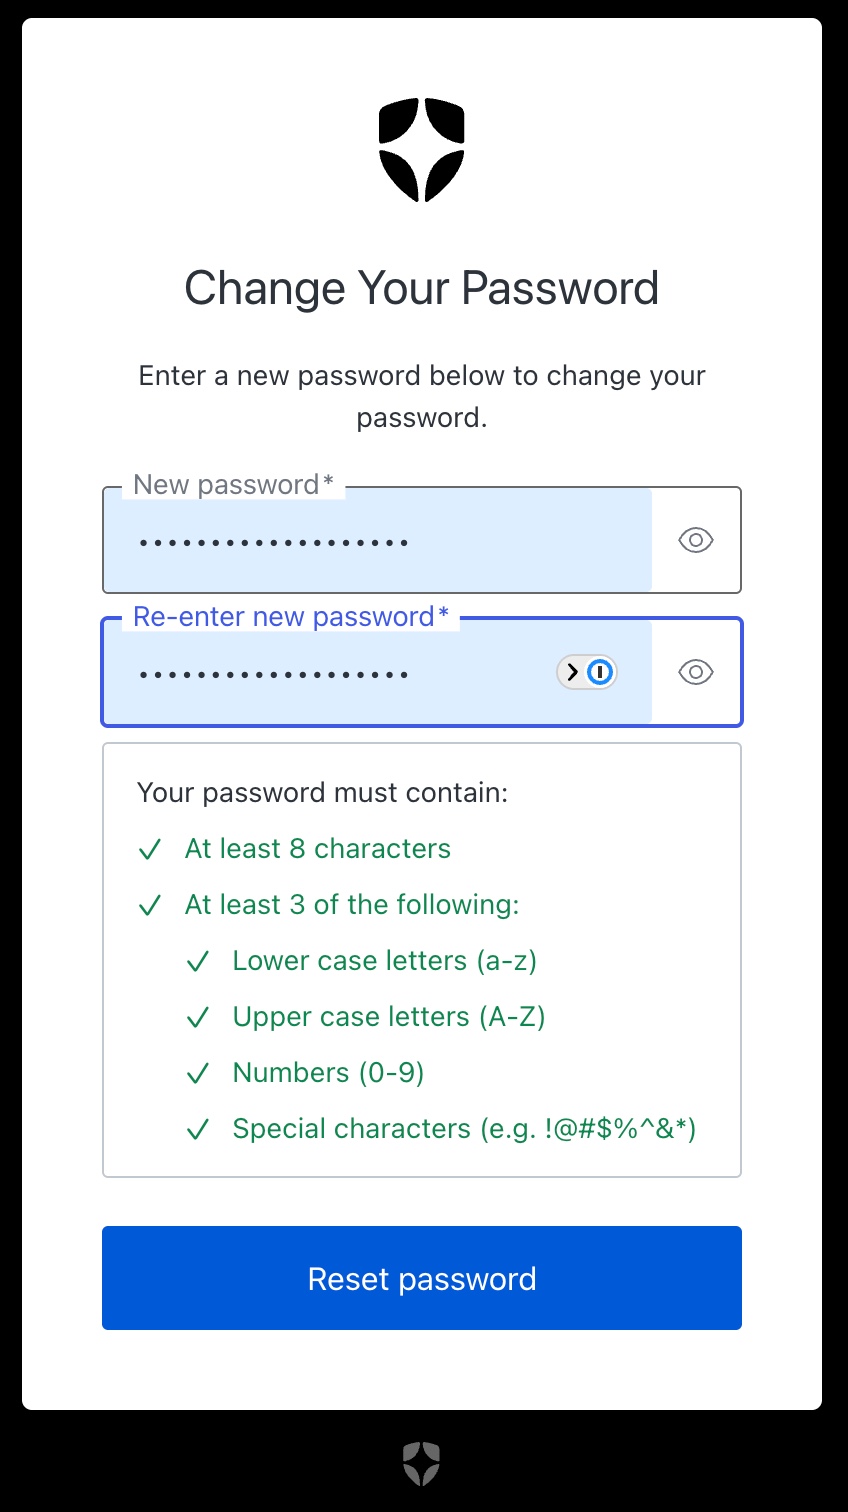
Set your new password
You'll land on the Change Your Password form. Enter your new password, then re-enter it to confirm. The requirements panel will turn each item green as you meet it.
Your password must:
- Be at least 8 characters
- Contain at least 3 of: lower case, upper case, numbers, special characters
When everything is ticked, click Reset password.
Confirm the password-changed screen
You'll see a green tick with "Password Changed! Your password has been changed successfully." That's the setup complete.
Log in to Ward6AI
Head back to the platform and sign in with your new password.
Return to wardai.au and sign in
Go back to https://wardai.au and click Log In / Sign Up again. On the login form, enter:
- Your email address
- The new password you just set
Then click Continue. You're in.
wardai.au so it's one click next time.